News
How to Create a Cornucopia: 10 Simple Step-by-Step Instructions
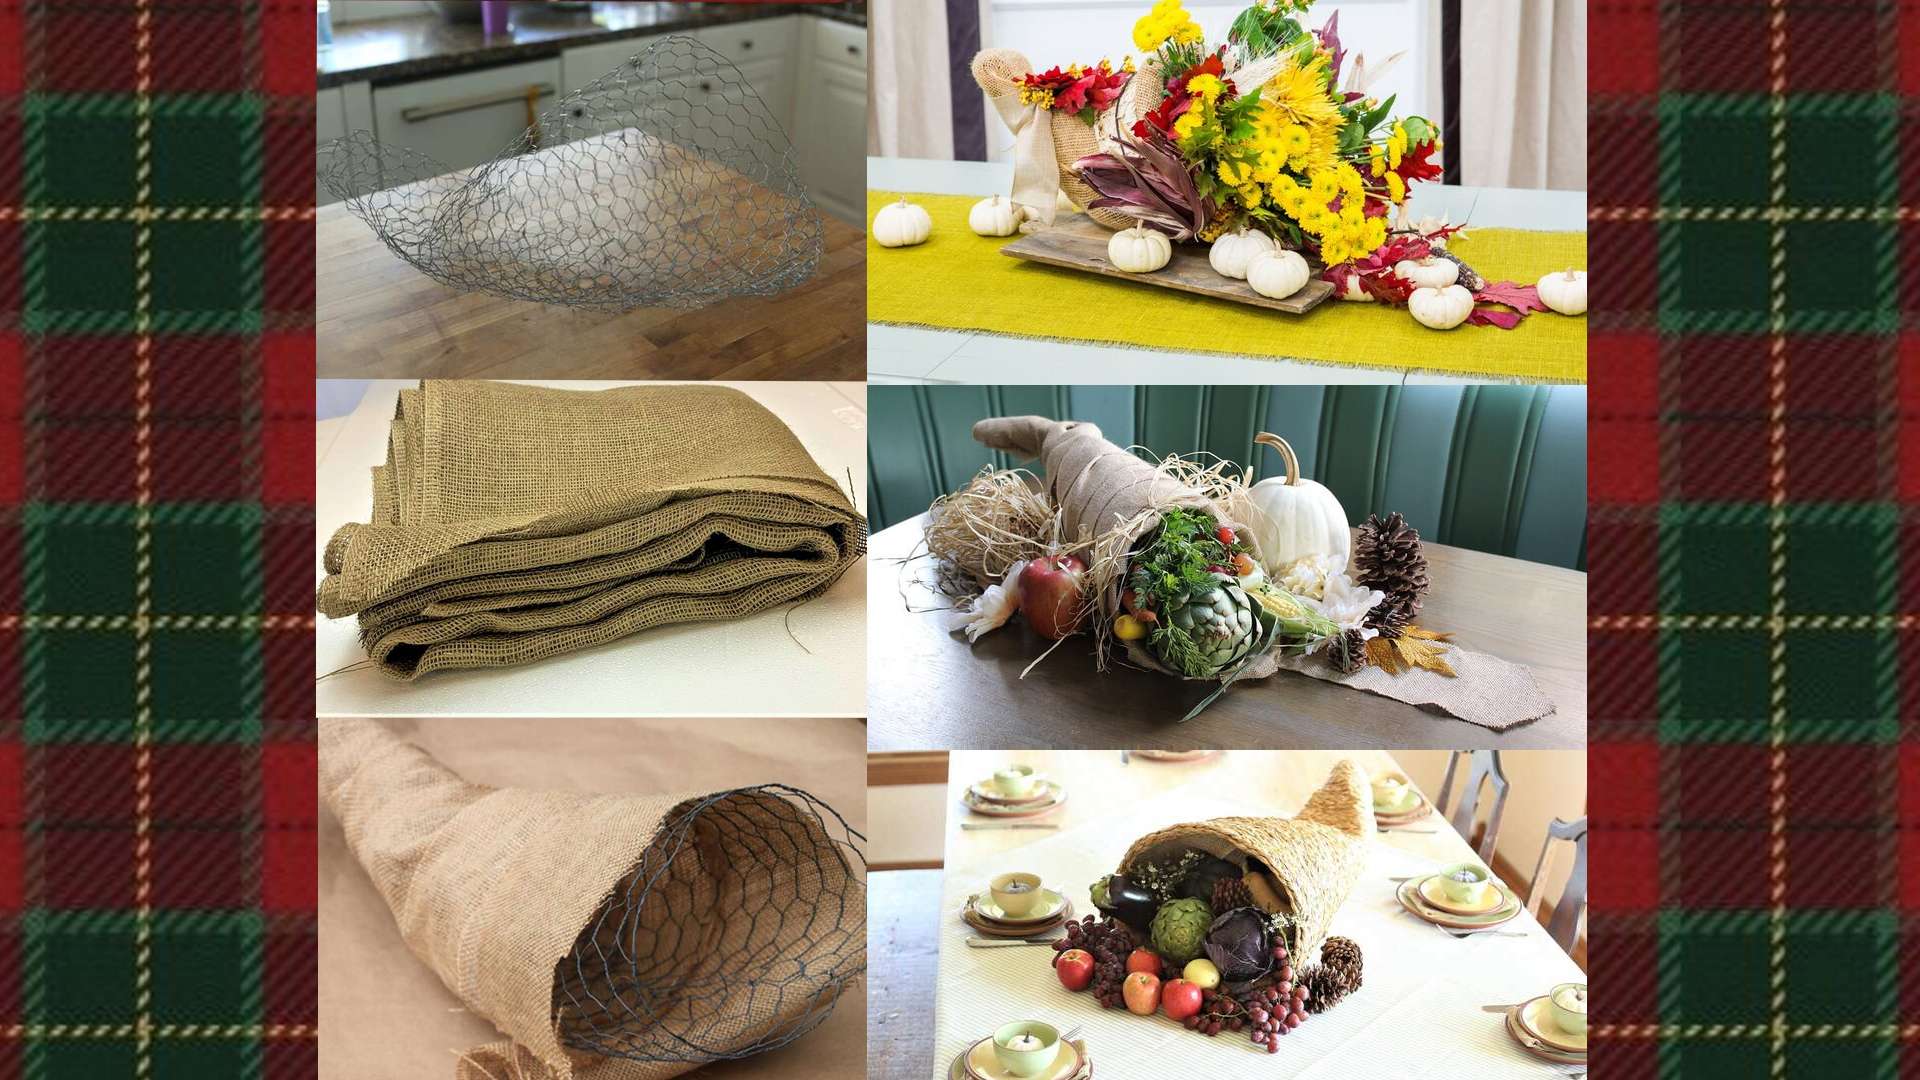
A cornucopia, also known as the “horn of plenty,” is a timeless symbol of abundance and gratitude, making it a perfect centerpiece for Thanksgiving celebrations. Whether you’re crafting one as a decoration or a gift, making a cornucopia can be a fun and rewarding DIY project. In this guide, we’ll walk you through 10 easy steps to create a stunning cornucopia that will impress your guests and enhance your Thanksgiving table.
Materials You’ll Need:
Before you begin, gather these supplies:
- A wicker cornucopia basket (available at craft stores or online)
- Floral foam or chicken wire (for stability)
- Fall foliage and greenery (real or artificial)
- Fresh or artificial fruits, vegetables, and flowers
- Small pumpkins and gourds
- Pinecones and berries (optional)
- Hot glue gun or floral tape
- Scissors or pruning shears
Step 1: Choose Your Cornucopia Base
Start with a wicker cornucopia basket. These are easy to find at craft stores or online, but you can also weave one from scratch if you’re feeling adventurous. Ensure the basket is sturdy enough to hold your decorative items.
Step 2: Prepare the Base with Stability
Place floral foam or chicken wire inside the basket to provide a stable foundation for arranging your decorations. This will keep everything in place as you work.
Step 3: Add Greenery and Foliage
Begin by arranging fall foliage and greenery around the edges of the basket. Let the greenery drape slightly over the sides for a natural look. Use floral tape or hot glue to secure it in place.
Step 4: Arrange Large Elements First
Start with the larger items like pumpkins, gourds, and big fruits such as apples or pears. Position these items at the opening of the basket, as if they’re spilling out naturally.
Step 5: Fill in with Medium-Sized Decorations
Add medium-sized fruits, vegetables, or flowers around the larger elements. Distribute them evenly to create a balanced and full appearance.
Step 6: Incorporate Small Decorative Items
Fill in the gaps with smaller items like berries, pinecones, and nuts. These details add texture and enhance the overall aesthetic.
Step 7: Add Floral Accents
Place flowers strategically throughout the arrangement to add pops of color. Choose seasonal blooms like sunflowers, chrysanthemums, or dahlias for a festive touch.
Step 8: Secure Loose Items
Use hot glue or floral tape to secure any items that seem unstable. This step ensures your cornucopia remains intact throughout the holiday season.
Step 9: Create a Natural Flow
Arrange items so they appear to flow naturally out of the basket. Keep the composition asymmetrical for a more organic and visually appealing design.
Step 10: Final Touches
Step back and assess your creation. Adjust items as needed and add any final touches, such as ribbons or small fairy lights, to elevate the design.
Tips for Crafting the Perfect Cornucopia:
- Choose a Color Palette: Stick to warm, autumnal colors like orange, red, yellow, and brown for a cohesive look.
- Mix Textures: Combine smooth fruits with rough pinecones and soft greenery for visual interest.
- Use Fresh or Artificial Items: Fresh produce adds authenticity, while artificial items offer longevity. You can even mix the two!
- Make It Personal: Incorporate meaningful elements like family photos or heirloom decorations for a personalized touch.
Why Create a Cornucopia?
The cornucopia is more than just a decorative piece—it’s a symbol of gratitude, abundance, and community. Crafting one allows you to celebrate these values while adding a unique, personal element to your Thanksgiving decor.
By following these 10 simple steps, you can create a beautiful cornucopia that embodies the spirit of the season and becomes a cherished part of your Thanksgiving tradition.


